Hard Light

So I'll start this blog off with a quick post about using the blend mode known as hard light. If you've used the layer feature in Adobe Photoshop, you probably know that there are a multitude of blend modes, from normal to overlay to soft light, among many others. These blend modes can be used for a variety of effects, including special effects as well as simple photo touch-up.
I like to use the hard light blend mode to brighten up my pictures (usually landscape or nature photographs). Adobe describes hard light as follows:
Multiplies or screens the colors, depending on the blend color. The effect is similar to shining a harsh spotlight on the image.Right. Basically what that means is that bright things get brighter, and dark things get darker. These are the steps I use to add some extra color to my more dull pictures:
If the blend color (light source) is lighter than 50% gray, the image is lightened, as if it were screened. This is useful for adding highlights to an image. If the blend color is darker than 50% gray, the image is darkened, as if it were multiplied. This is useful for adding shadows to an image. Painting with pure black or white results in pure black or white.
- Duplicate the background layer.
- In the new layer, increase contrast by about 40.
- Gaussian blur, around 8-12 (adjust depending on size of the picture).
- Set blend mode to hard light.
- Decrease layer opacity until you get something you like.
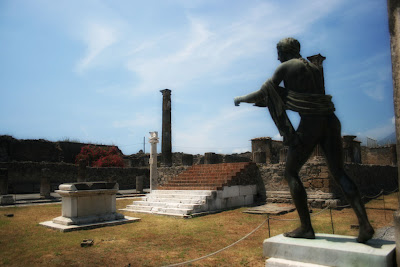
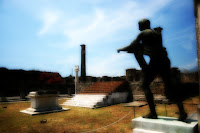
As I said, this is one of my favorite ways to make my pictures more vivid. The results can be subtle or strong (click the images for larger, clearer versions):


Subtle, medium, and strong.
(Layer opacity: 25%, 50%, 100%)
So that's the end of this post. If you use this for any of your pictures, show me!


Comments