Bomb the Music Industry! with Grim Luck - Photos
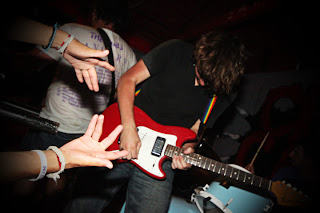
Last night I went to the Bomb the Music Industry! concert at the University of California, San Diego's Che Cafe. They played with Skamakazi and San Diego's own Grim Luck! It was my second time seeing Bomb the Music Industry! at the Che Cafe, and I knew it would be a good venue for photos. I decided to bring my camera (a Canon Rebel T1i) because it's the only concert venue I know of that doesn't complain about you bringing an SLR to take pictures. All pictures were taken with a Sigma 10-20mm lens and a Canon 430EX II flash. Overall it was a great show. If you want bigger pictures, find a way to contact me (it won't be that hard) and I'll gladly give you bigger versions. Part 1 (Skamakazi) Part 2 (Grim Luck) Part 3 (Grim Luck) Part 4 (Grim Luck) Part 5 (Bomb the Music Industry!) Part 6 (Bomb the Music Industry!) Part 7 (Bomb the Music Industry!) Part 8 (Bomb the Music Industry!) » Next (Part 1)